LXFree for Java 1.4 has the ability to export Collada files. Collada is a format used for the exchange of 3D data between applications. A Collada file exported by LXFree for Java can be imported into an application like Blender and used to render an 3D image like this:

To experiment with how this works on Windows or Linux, you need to download both LXFree for Java 1.4 and Blender.
The above image was created with the example file that comes with LXFree for Java 1.4. Once you launch LXFree for Java, select Help->Example Plot to open this file. Collada export also requires that LXFree for Java's Pro Features are enabled. Pro Features can currently be enabled for testing by choosing View -> Options:
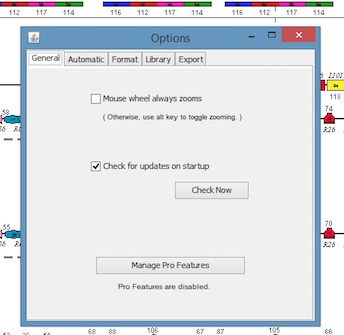
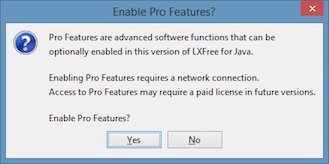
Click Manage Pro Features then Yes.
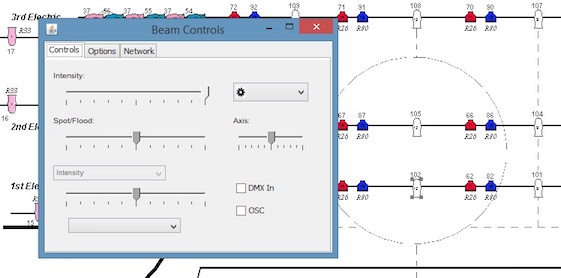
Select the light that is on the first electric at center and then choose View -> Beam Controls

Use the Intensity slider to turn the light on and show its beam:
Next, choose File -> Export -> Collada (DAE)...

First, make sure Include Model is checked. Then, select "ballet_dancer.faces" from the popup menu. Finally, change the Y location field to 6'-0".
Note that the example plot's coordinates are set to US feet and inches. The units shown change if the plot is in metric. The measurements in the exported file are in feet regardless of the system used by the plot. This will match the vertices in the inserted model.
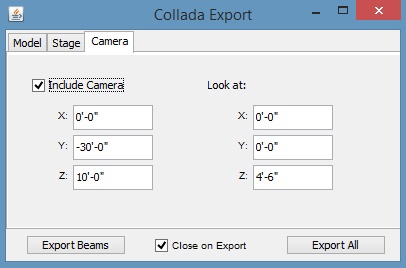
Optionally, at this point you could also click the color well to change the color of the dancer's costume from blue to something else. Continuing on, switch to the Stage tab and make sure that you have selected to export a floor and a background.
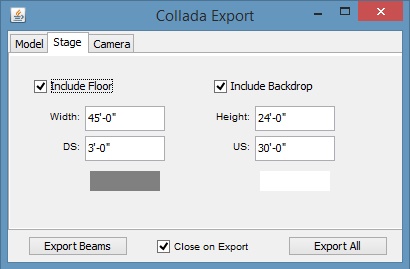
Switch to the Camera tab and also select to export a camera.
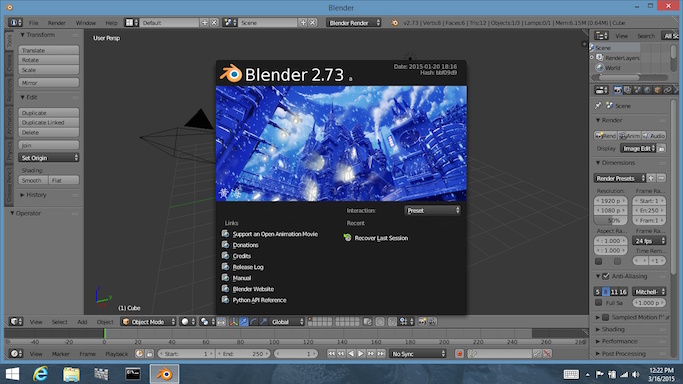
When you are finished with the options, click the Export All button and save the DAE file in a location where you can find it like the Desktop. Then, launch Blender:
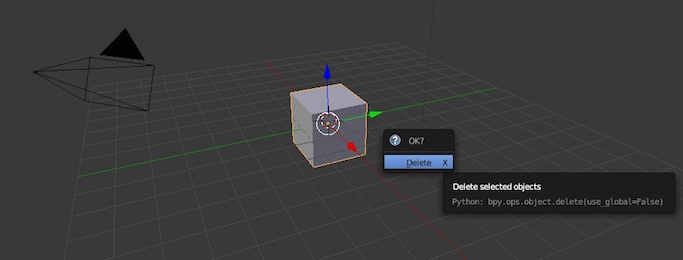
Click somewhere on the gray part of the main window to make the splash screen go away. Then, press the "x" key. Clicking delete will remove the default cube from the scene.
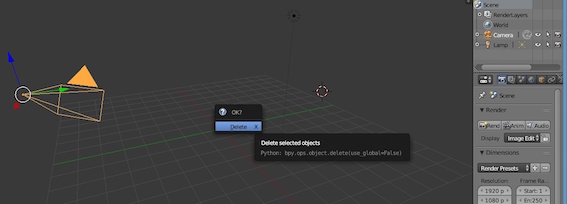
Select the default camera from the scene list in the upper right corner of the window. Mover the cursor back over the main part of the window and again press the "x" key. This will remove the camera from the scene. Do the same thing with the default lamp. So that you have a blank scene to import into.
You should end up with just RenderLayers and World in the scene list. Next, choose File -> Import -> Collada (default) (.dae). Locate the file you exported above and double-click it. Note: the file is probably about 5mb and takes a while to import into Blender. Be patient, it may take 60 seconds or so to complete the import.
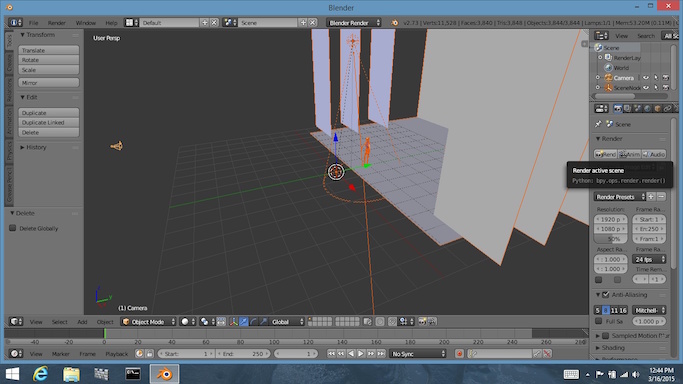
Click the Render button on the right side of the Blender window.
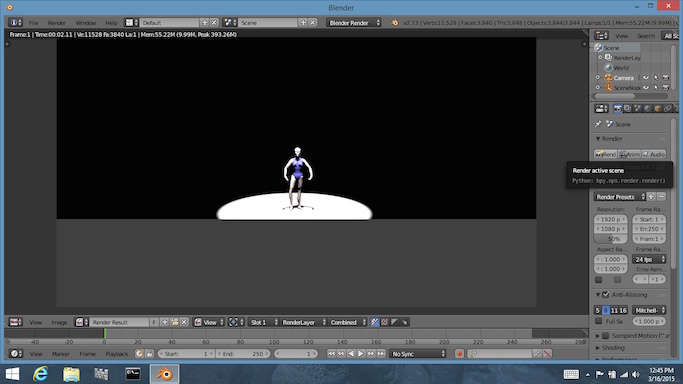
You can see that only the portion of the stage that is actually lit appears. You can go back and turn on more lights using the beam control panel. Then, repeat the export/import process to create a new image.
Hint: not all of the lights in the example plot may be pointed where you want them. click on a beam and drag it into a new location to change the focus of a light.